Squeaky Floorboards: Screwing the Floor Back to the Joist
A floor squeaks where a board or subfloor panel moves against a joist or a nail as you step. The lasting fix is mechanical: breakaway screw kits pull the floor down tight to the joist from above, through carpet or from below where there is access, without a floor tear-up.
The short answer
Screw the movement out of it: a breakaway screw kit (the Squeeeeek No More class) drives scored screws through the floor into the joist and snaps them off invisibly below the surface, and the squeak, which is movement, ends when the movement does. A note on evidence: our research did not check this product's search results or review record, so the recommendation rests on the mechanism, which is carpentry, not chemistry, and is stated as such rather than dressed up in stars borrowed from other products.
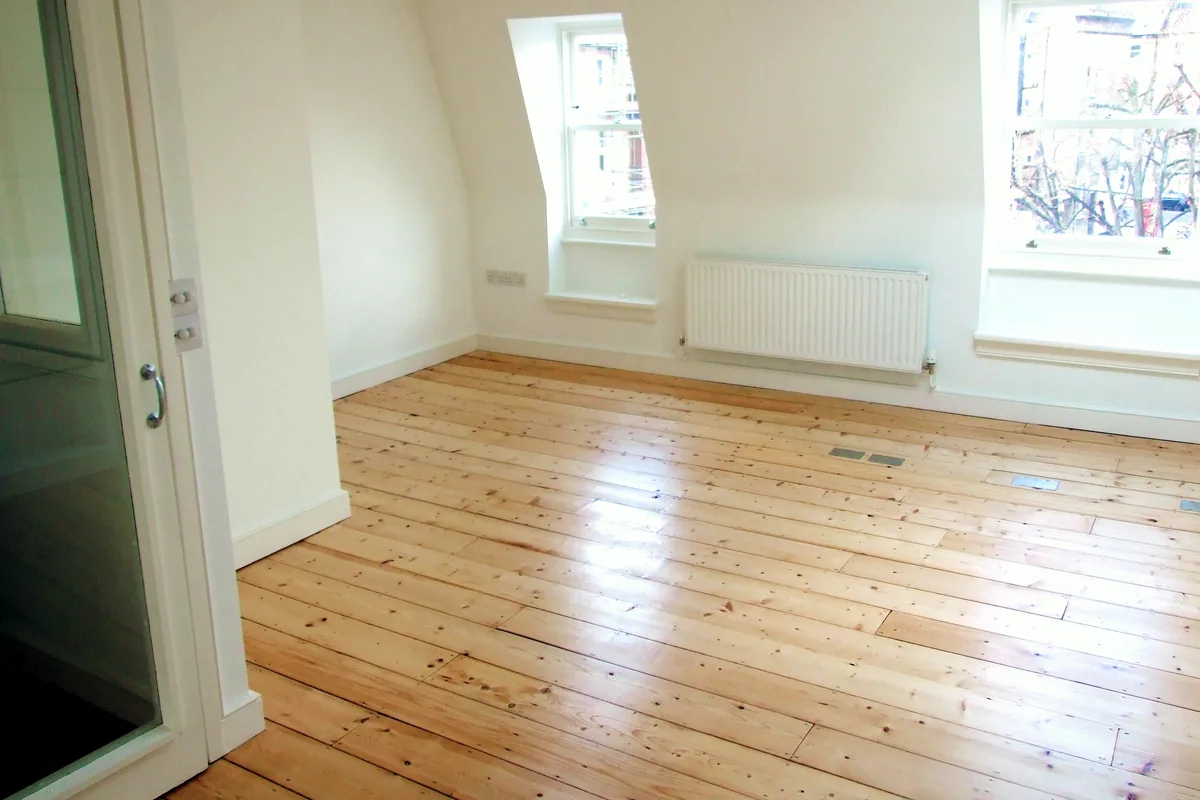
Why does this happen?
A squeak is friction you can hear: a subfloor panel or board, loosened from the joist by a shrunken nail hole, dried-out construction adhesive, or seasonal wood movement, flexes a fraction of a millimeter underfoot, and wood sliding on a nail shaft or rubbing its neighbor makes the sound. The floor itself carries the sound. The noise follows a clear pattern (it lives at joist lines and along panel edges), so the cure is just as targeted: stop the movement where it happens by fastening the layers together where they have separated. Powders and lubricants (talc, graphite) poured into seams quiet the friction for a season at best, because the movement that makes the noise carries on underneath.
Breakaway screws solve the fastening problem without a tear-up. The kit's fixture finds and holds the correct depth: the screw drives through carpet or finished floor into the joist, clamping subfloor to joist, and its scored shaft snaps at a designed point just below the surface, leaving the hole to fill (through carpet, invisibly; on hardwood, with a wax fill stick matched to the floor). Two things have to come first: you must find the joist (from below, from the squeak's line, or with the kit's joist-finding method), and you must know what runs beneath the floor (pipes and wires are the drill's main hazards, and they run in the space between joists).
The fix, in order
Each step costs more than the one before it, so stop at the first one that solves the problem; the product is there only if the free steps run out.
Free step
Map the squeak to the joist
Walk the floor and mark the noisy spots with painter's tape; the squeaks line up over joists (typically 16 inches apart) or along a panel seam. Confirm from below if there is access; if not, a stud finder and the kit's locating method pin the joist down. Every screw lands in a joist or it lands in nothing, so this step is the whole job.
The product step
Drive and snap the kit's screws at the worst spots
Using the kit's fixture for depth, drive the breakaway screws through the floor into the joist at each marked point, working from the loudest outward. Each snapped screw should remove its share of the movement; walk the floor after every few and feel where it still moves.
The product for this step
Breakaway screw floor repair kits (Squeeeeek No More class)
Free step
Fill and finish the surface honestly
Through carpet, the snapped screw disappears on its own. On hardwood or laminate, fill the pinholes with a matched wax stick and accept the pinprick as the price of silence; on a showpiece floor, the from-below method (angle screws from beneath) leaves the surface unmarked, at the cost of crawlspace time.
Habit step
Treat the seasonal sequel with talc, where appropriate
Minor seam squeaks in solid hardwood that come and go with humidity can be quieted for a season with talc or graphite worked into the joint. Know it for what it is (lubricating a moving joint, and temporary), and reach for the screws when the movement is at the joist, where it matters.
The evidence, in tiers
Tier 1 · The method
The movement-friction model and the joist-fastening cure are standard carpentry; the breakaway screw's snap-below-surface design is the kit class's documented mechanism.
Tier 2 · This product
Our research for this entry is provisional: we did not sample the search results, and no review average is quoted anywhere on this page. The recommendation rests on the mechanism and the kit class's long hardware-store presence, presented at exactly that evidence level.
We have not screwed a test floor for this guide. The diagnosis (squeak maps to joist lines) is verifiable by the reader with painter's tape before any purchase, which is the honest order.
Tier 3 · What owners report
Owner accounts of the kit class in hardware retail describe the expected pattern (silence where screws found joists, continued squeak where they missed), which is why the mapping step takes up half the steps above.
The alternatives, conceded where they win
| Option | What it is | The honest verdict |
|---|---|---|
| Breakaway screw kit, from above | Joist fastening with an invisible finish | The pick for carpeted floors and accessible joists: permanent, mechanical, and finished in an afternoon without lifting the floor. |
| From-below screws and shims | Fastening and wedging from the basement or crawlspace | Wins on finished hardwood you cannot bear to pierce, and shims fix the joist-gap version neatly where access is good; it loses when the ceiling below is finished, which describes most squeaky upstairs floors and is why the kit exists. |
| Talc, graphite, and liquid floor treatments | Lubricating the moving joint | Wins as a first try on a minor, seasonal seam squeak at $5 and ten minutes; it loses on joist-line movement, where the movement is structural and the lubricant lasts a season at best. |
The honest price comparison
The honest comparison is a flooring contractor's visit at $200 and up to do this same job with the same screws, or a floor refinishing at thousands that a squeak alone never justifies. A $30 kit and an afternoon is the proportionate owner-scale answer.
Where it falls short
The weaknesses below come from the product's own review record. Hiding them would make this an advertisement, so they are here.
- A missed joist is a useless screw and a small hole: the mapping step is not a formality, and floors with unusual framing (old houses, additions) punish assumptions.
- It cannot fix rot, bounce, or joist damage, and by silencing a floor it could hide one; the sponginess check in the box above comes before the kit for exactly that reason.
- The evidence file is provisional, as stated twice on this page: the mechanism is certain, the specific kit's record is unsampled, and readers who trust records more than mechanisms should treat this page as a method recommendation with a named example.
The product, in short
Breakaway screw floor repair kits (Squeeeeek No More class)
Questions people ask next
How do I find the joist under carpet?
From the basement ceiling if exposed; else by the squeak's own geometry (lines repeat at joist spacing), a deep-scan stud finder, or the kit's test screw in an inconspicuous spot near the wall. Houses give away their framing at baseboards and vents, where cut edges reveal the pattern.
Will the screws hit a pipe or wire?
They can, which is why the rule is screws only in the joist's center line (pipes and wires are supposed to run through joist centers too, protected by depth or plates, but 'supposed to' is doing heavy lifting in old houses). Shallow, careful drilling and knowing your home's runs are the safety system; when in doubt, work from below where you can see.
The squeak is under a tile floor. Options?
Tile rules out the from-above method entirely. From below if accessible; otherwise the squeak waits for a future tile job, and this page will not pretend a grout-line injection is carpentry. Some problems have no cheap fix, and this is one.
Why does it squeak more in winter?
Heating dries indoor air, wood shrinks, nail holes loosen, and gaps open at joists: the seasonal squeak follows the house's humidity. Summer's humidity swells the wood tight again, which is also why the talc sometimes seems to 'work': it arrived with the season that was going to help anyway.
Carpentry practice on floor squeak causes and joist fastening · Kit class documentation (Squeeeeek No More) via hardware retail (November 2026)
The Fix JournalCase 04Family & Friction